Guide status: Needs review
Brightdesk Workspace

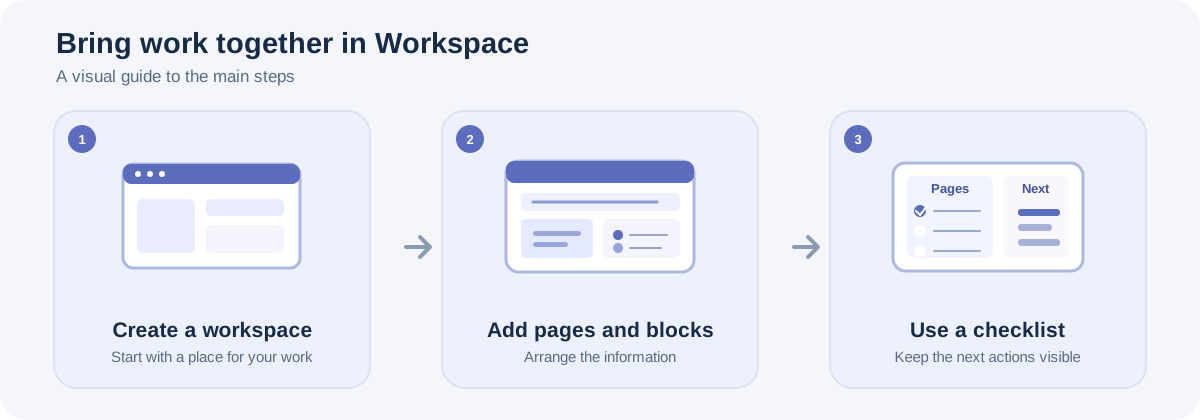
Illustrative workflow, not a screenshot of the Brightdesk interface.
Use Workspace to bring related project information together in workspaces and pages.
Create a workspace
- In the left panel, find Your workspaces.
- Choose the + button labelled Create workspace.
- Enter a Workspace name.
- Choose Create.
A new workspace includes a Getting started page.
Add a page
- Under Pages, choose the + button labelled Add page.
- Enter a page title in the prompt.
- The new page appears in the page list. Select it to work on it.
Use Find a page to search page titles and page content.
Add content to a page
- Open the page you want to edit.
- Choose a content type from the block list: Text, Heading, Bullet point, Callout, Checklist or Divider.
- For Text, Heading, Bullet point or Callout, enter the content in the text field.
- Choose Add to page.
Use a checklist
- Add a Checklist block to the page.
- Enter an item in Add a checklist item.
- Choose Add item.
- Select the checkbox when the item is complete.
- Edit the item text or use its remove control when needed.
Organise your page
- Use the ↑ and ↓ controls on a block to move it.
- Choose Rename page to change the current page title.
- Choose Rename workspace to change the workspace name.
- Delete page removes the page and all its content. A workspace must keep at least one page.
- Delete workspace removes that workspace and all its pages. At least one workspace must remain.
Save your work
Workspaces and pages are saved on this device as you work. Check the local-save status in the workspace.
Current feature boundaries
Workspace supports local workspaces and pages with text, heading, bullet, callout, divider and checklist blocks. Live collaboration, shared workspaces, accounts, cloud sync, permissions, external integrations and connected multi-user components are not included in the current stated scope.
Guide status
Needs review. These steps are based on the current Workspace interface and source. They still need to be run from start to finish in a current installed desktop build before the guide can be approved for customers.