Guide status: Needs review
Brightdesk Planner

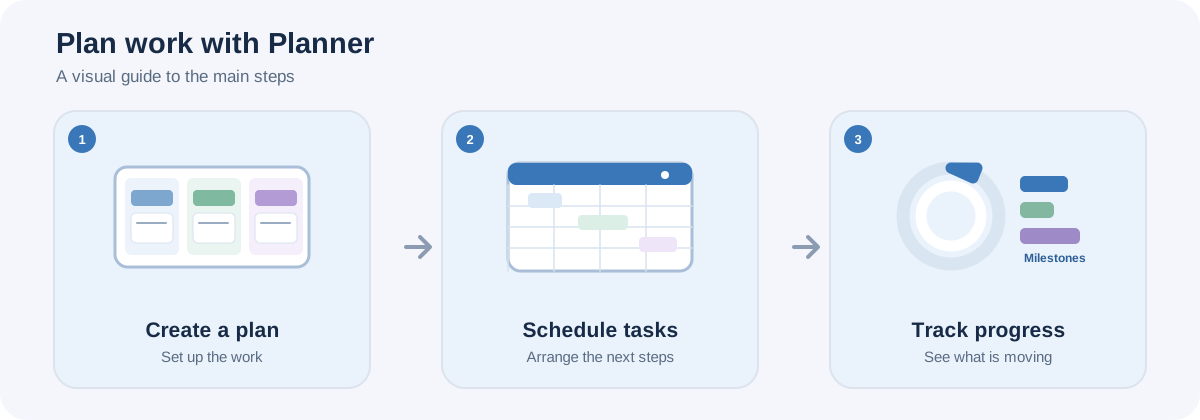
Illustrative workflow, not a screenshot of the Brightdesk interface.
Use Planner to organise a project into a plan, buckets and tasks.
Create a plan
- Under Your plans, enter a name in New plan name.
- Choose Create plan.
- Select the plan in the left-hand panel.
A new plan starts with a To do bucket. Choose Rename plan to change the plan name.
Add a bucket
- Enter a name in New bucket name.
- Choose Add bucket.
- Repeat for any other task groups you need.
Use the delete control on a bucket only when you intend to remove it. Any tasks in that bucket are moved to another remaining bucket. A plan must keep at least one bucket, so you cannot delete its final bucket.
Add a task
- Under Add a task, enter a Task title.
- Add a Description when you need to explain the task.
- Choose the Bucket for the task.
- Choose a Priority: Low, Normal or High.
- Choose Progress: Not started, In progress or Completed.
- Add a Due date or Assigned to value when useful.
- Choose Add task.
Update and find tasks
- Use the progress selector on a task card to change its progress.
- Choose Edit on a task card to change its title.
- Choose Delete only when you intend to remove a task.
- Use Search tasks, Filter progress and Filter priority to narrow the board.
Save your work
Plans, buckets and tasks are saved on this device as you work. Check the local-save status in the workspace.
Current feature boundaries
Planner currently provides local plans and task boards. Connected user directories, automatic assignment, operating-system notifications, recurring reminders, cloud sync and shared plans are not included in the current stated scope. The current task card editor only exposes title editing and a progress selector.
Guide status
Needs review. These steps are based on the current Planner interface and source. They still need to be run from start to finish in a current installed desktop build before the guide can be approved for customers.