Guide status: Needs review
Brightdesk Lists

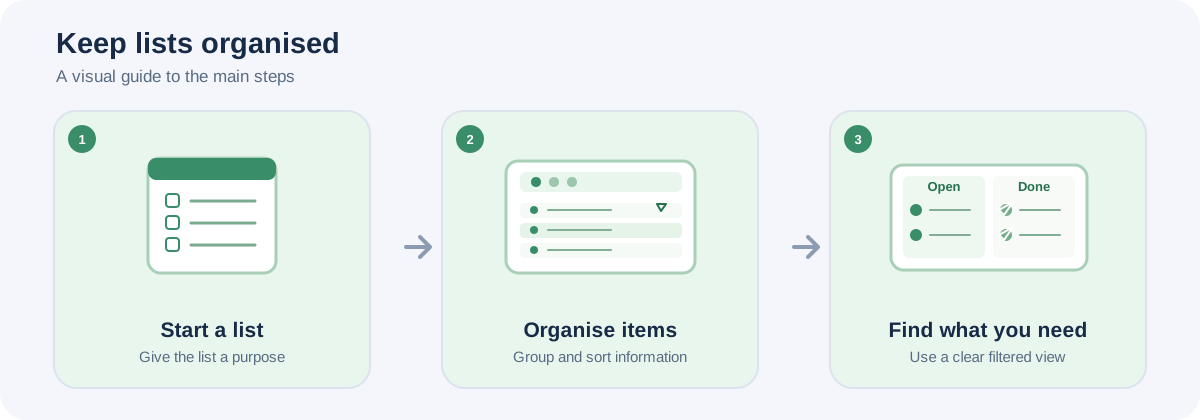
Illustrative workflow, not a screenshot of the Brightdesk interface.
Use Lists to organise projects, stock, contacts or other information as structured records.
Create a list
- Under Your lists, enter a name in New list name.
- Add a description if you need one.
- Choose Create list.
- Select your list in the left-hand panel.
A new list starts with the columns Title, Status, Priority, Due date and Notes.
Add or edit a record
- Open your list.
- Choose Add record.
- Complete the fields shown.
- Choose Add record to save the record.
- To change an existing record, choose Edit, make your changes and choose Save changes.
- Choose Delete only when you intend to remove a record.
Add a custom column
- Expand Add a custom column.
- Enter a Column name.
- Choose Text, Date or Choice as the column type.
- For a Choice column, enter the options separated by commas.
- Choose Add column.
Search, filter and sort
- Enter a word in Search this list to find matching records.
- Use Filter by status to show all statuses, Not started, In progress or Done.
- Choose a field under Sort by column.
- Choose A to Z or Z to A under Sort direction, then choose Sort.
Rename or delete a list
Choose Rename to change the list name. Choose Delete list only when you intend to remove the list and all its records.
Save your work
Lists are saved on this device as you work. Check the local-save status in the workspace.
Current feature boundaries
Lists is a local structured-list tool. Shared editing, user permissions, attachments, automation, connected data sources and online forms are not included in the current stated scope.
Guide status
Needs review. These steps are based on the current Lists interface and source. They still need to be run from start to finish in a current installed desktop build before the guide can be approved for customers.