Guide status: Needs review
Brightdesk Decks

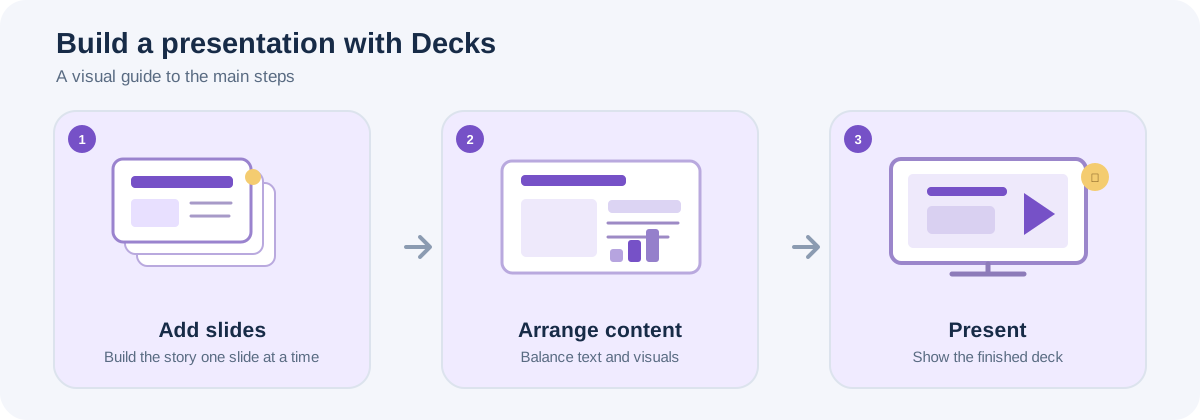
Illustrative workflow, not a screenshot of the Brightdesk interface.
Use Decks to build and present a slide presentation.
Edit the first slide
- Open Brightdesk Decks. A new presentation starts with a slide.
- Select the slide title area and enter your title.
- Select the slide text area and enter your main points.
- Your edits are saved on this device as you work.
Add and organise slides
- Open Home.
- Choose New slide to add a slide.
- Choose Duplicate to make a copy of the current slide.
- Choose Delete to remove the current slide. A presentation must keep at least one slide.
- Use Previous and Next below the slide to move through the presentation.
You can also open Insert and choose Title slide or Text slide to add a slide with starter content.
Choose a theme
- Open Design.
- Choose Lavender, Midnight or Paper.
- Continue editing the slide content in the presentation workspace.
Present your slides
- Select the slide where you want to begin.
- Open Slide Show.
- Choose From current slide.
- During the presentation, click or use the arrow keys to move between slides.
- Press Esc to leave presentation mode.
Open, save and export
- Choose Save project to save Brightdesk project data.
- Choose Open to open supported presentation data.
- Choose Export to see the output formats available in your installed version.
The product documentation describes PowerPoint import and export. Check the presentation after transferring it, because some advanced PowerPoint objects and formatting may not be preserved.
Current feature boundaries
Decks provides a core slide-editing and presenting workflow. Advanced layouts, transitions, embedded media, animation and complete PowerPoint round-trip fidelity are not promised.
Guide status
Needs review. These steps are based on the current Decks interface and product documentation. They still need to be run from start to finish in a current installed desktop build before the guide can be approved for customers.