Guide status: Needs review
Brightdesk Database

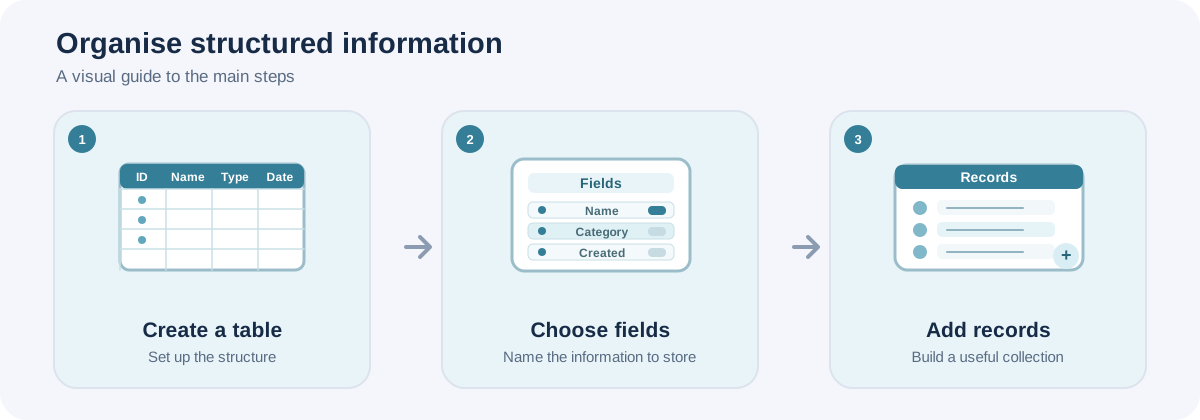
Illustrative workflow, not a screenshot of the Brightdesk interface.
Use Database to keep structured information in tables with named fields.
Create a table
- Open Brightdesk Database. A new database starts with Table1.
- Under Tables, enter a name in New table name.
- Choose Create table.
- Select a table in the left-hand list to work with it.
Add fields
- Expand Manage fields.
- Under Add a field, enter a Field name.
- Choose a Field type: Text, Number, Date, Email, Web address, Checkbox or Choice list.
- For a Choice list, enter the available choices separated by commas.
- Select Required field when every record must have a value.
- Choose Add field.
Your new field appears as a column in the table. The system ID field is managed by Database.
Add and update records
- Expand Add a record.
- Complete the fields shown for the selected table.
- Choose Add record.
- To update a value later, edit it directly in the table. The change is saved on this device.
- Choose Delete on a record only when you intend to remove it.
Find and sort records
- Enter words in Search records to find matching values.
- Choose a field in Sort records to sort the table.
Rename, delete or export a table
- Choose Rename table to change the selected table’s name.
- Choose Delete table only when you intend to remove that table and its records. Database must keep at least one table.
- Choose Export CSV to export the current table.
Current feature boundaries
Database is a local table-and-record tool. SQL query execution, table relationships, a query designer, form and report designers, database import, online hosting and collaboration are not included in the current stated scope.
Guide status
Needs review. These steps are based on the current Database interface and source. They still need to be run from start to finish in a current installed desktop build before the guide can be approved for customers.